Hi everyone!
We have a new Sketch Challenge up for you at
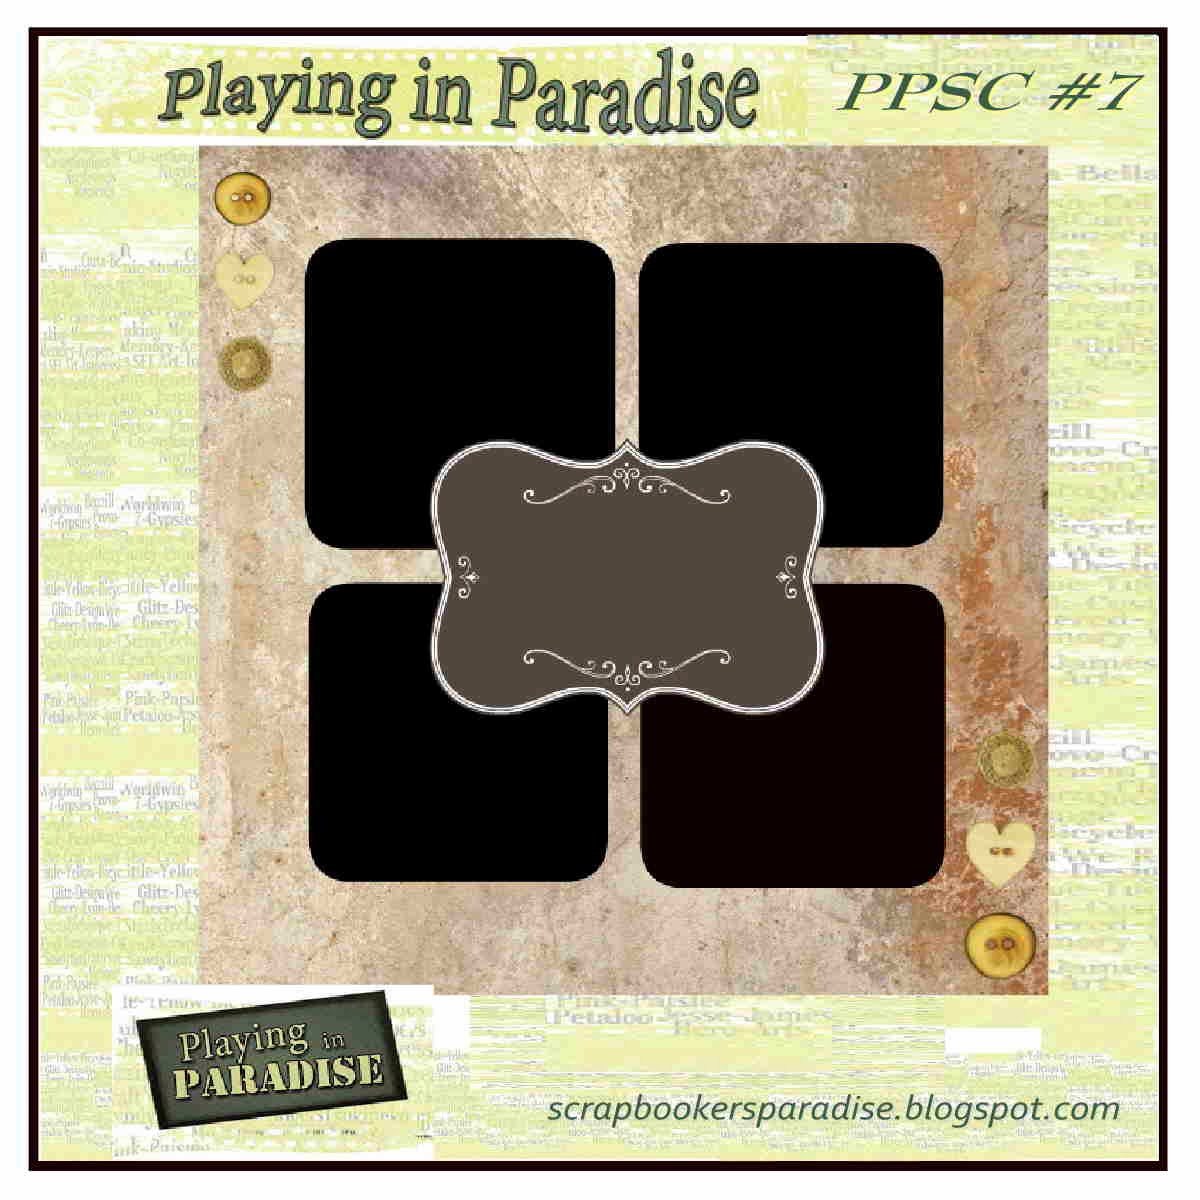
Playing in Paradise!
Just a refresher, our challenges run for 3 weeks and then a new one is posted on the 2nd Friday of every month, so entries for this challenge will need to be in by November 29th. Everyone is invited to play. The only rules are to have fun and play fair!!
I got out my Copics and had some fun coloring for this challenge. (Don't you find coloring is very relaxing?)
I used the beautiful Christmas collection "
Christmas Collection" by Kaisercraft, and picked the colors of my
Copics from that. Colours used were: E7,9,17,18,21,43,44,47,49 YG93,95,97,99 YR24,27 R27,29.
The stamp set I used was "
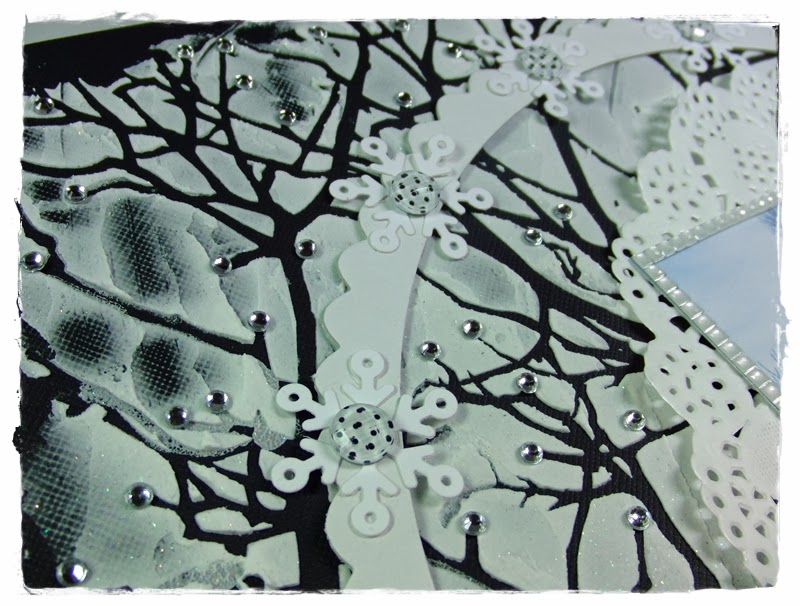
Home for the Holidays" by Flourishes. Once I was done colouring, I die cut it with "Majestic Labels #2 Framelits" by Sizzix.
For the inside, I used the same Framelits set and one of the sentiments from "Home for the Holidays". (I love the sentiments to this set!) All paper edges were inked with Vintage Photo Distress Ink. The green pointsettia - strange but pretty LOL - came from the Christmas Collection sticker sheet, and the poinsettia chipboard on the front are Pink Paislee "Snow Village".
I hope this has inspired you to start some Christmas cards! We would love to see them entered over at
Playing in Paradise. Show us what YOUR favorites in stamps or paper, is this year!
Take care,
Linda
Supplies used:
Kaisercraft - Christmas Collection
Copic markers
Flourishes - Home for the Holidays stamp set
Sizzix Framelits Majestic Labels #2
Pink Paislee - Snow Village chipboard


.jpg)


.jpg)


.JPG)